
I’m trying to build a Raspberry Pi powered robot based on the DRDs from Farscape, I thought I’d blog my progress.
DRD
DRDs or “Diagnostic Repair Drones” are robots from the cult science fiction series Farscape. They carry out various functions aboard a leviathian (a species of living biomechanoid spaceship) including repairing and maintaining the ship. They’re ovoid in shape and they have two moving eye stalks and all sorts of tools like a robotic claw and a plasma welder.

Here’s some video footage from the series to give you an idea of what these little guys get up to:
DRD Kit
The original DRDs were designed and built by the extremely talented folks at the Jim Henson Creature Shop in London (yes Jim Henson as in the Muppets!). They built lots of different variations of the robot over the years to be used in shooting different scenes for the show, but to my knowledge they’ve never released any designs.
I assumed I was going to have to painstakingly design a 3D computer model of one based on frame grabs from my DVDs of the series. I then planned to track down someone with a CNC router and a vacuum forming machine and persuade them to let me use them. Either that or find someone with an industrial sized 3D printer!
Luckily I came across a special effects company in the US who sells a kit to build a model of a DRD. The model is made from hollow cast fiberglass and resin and comes with ribbed plastic for the eye stalks, eye pieces with clear lenses, two parts of a claw and some colourful wires to make it look the part.
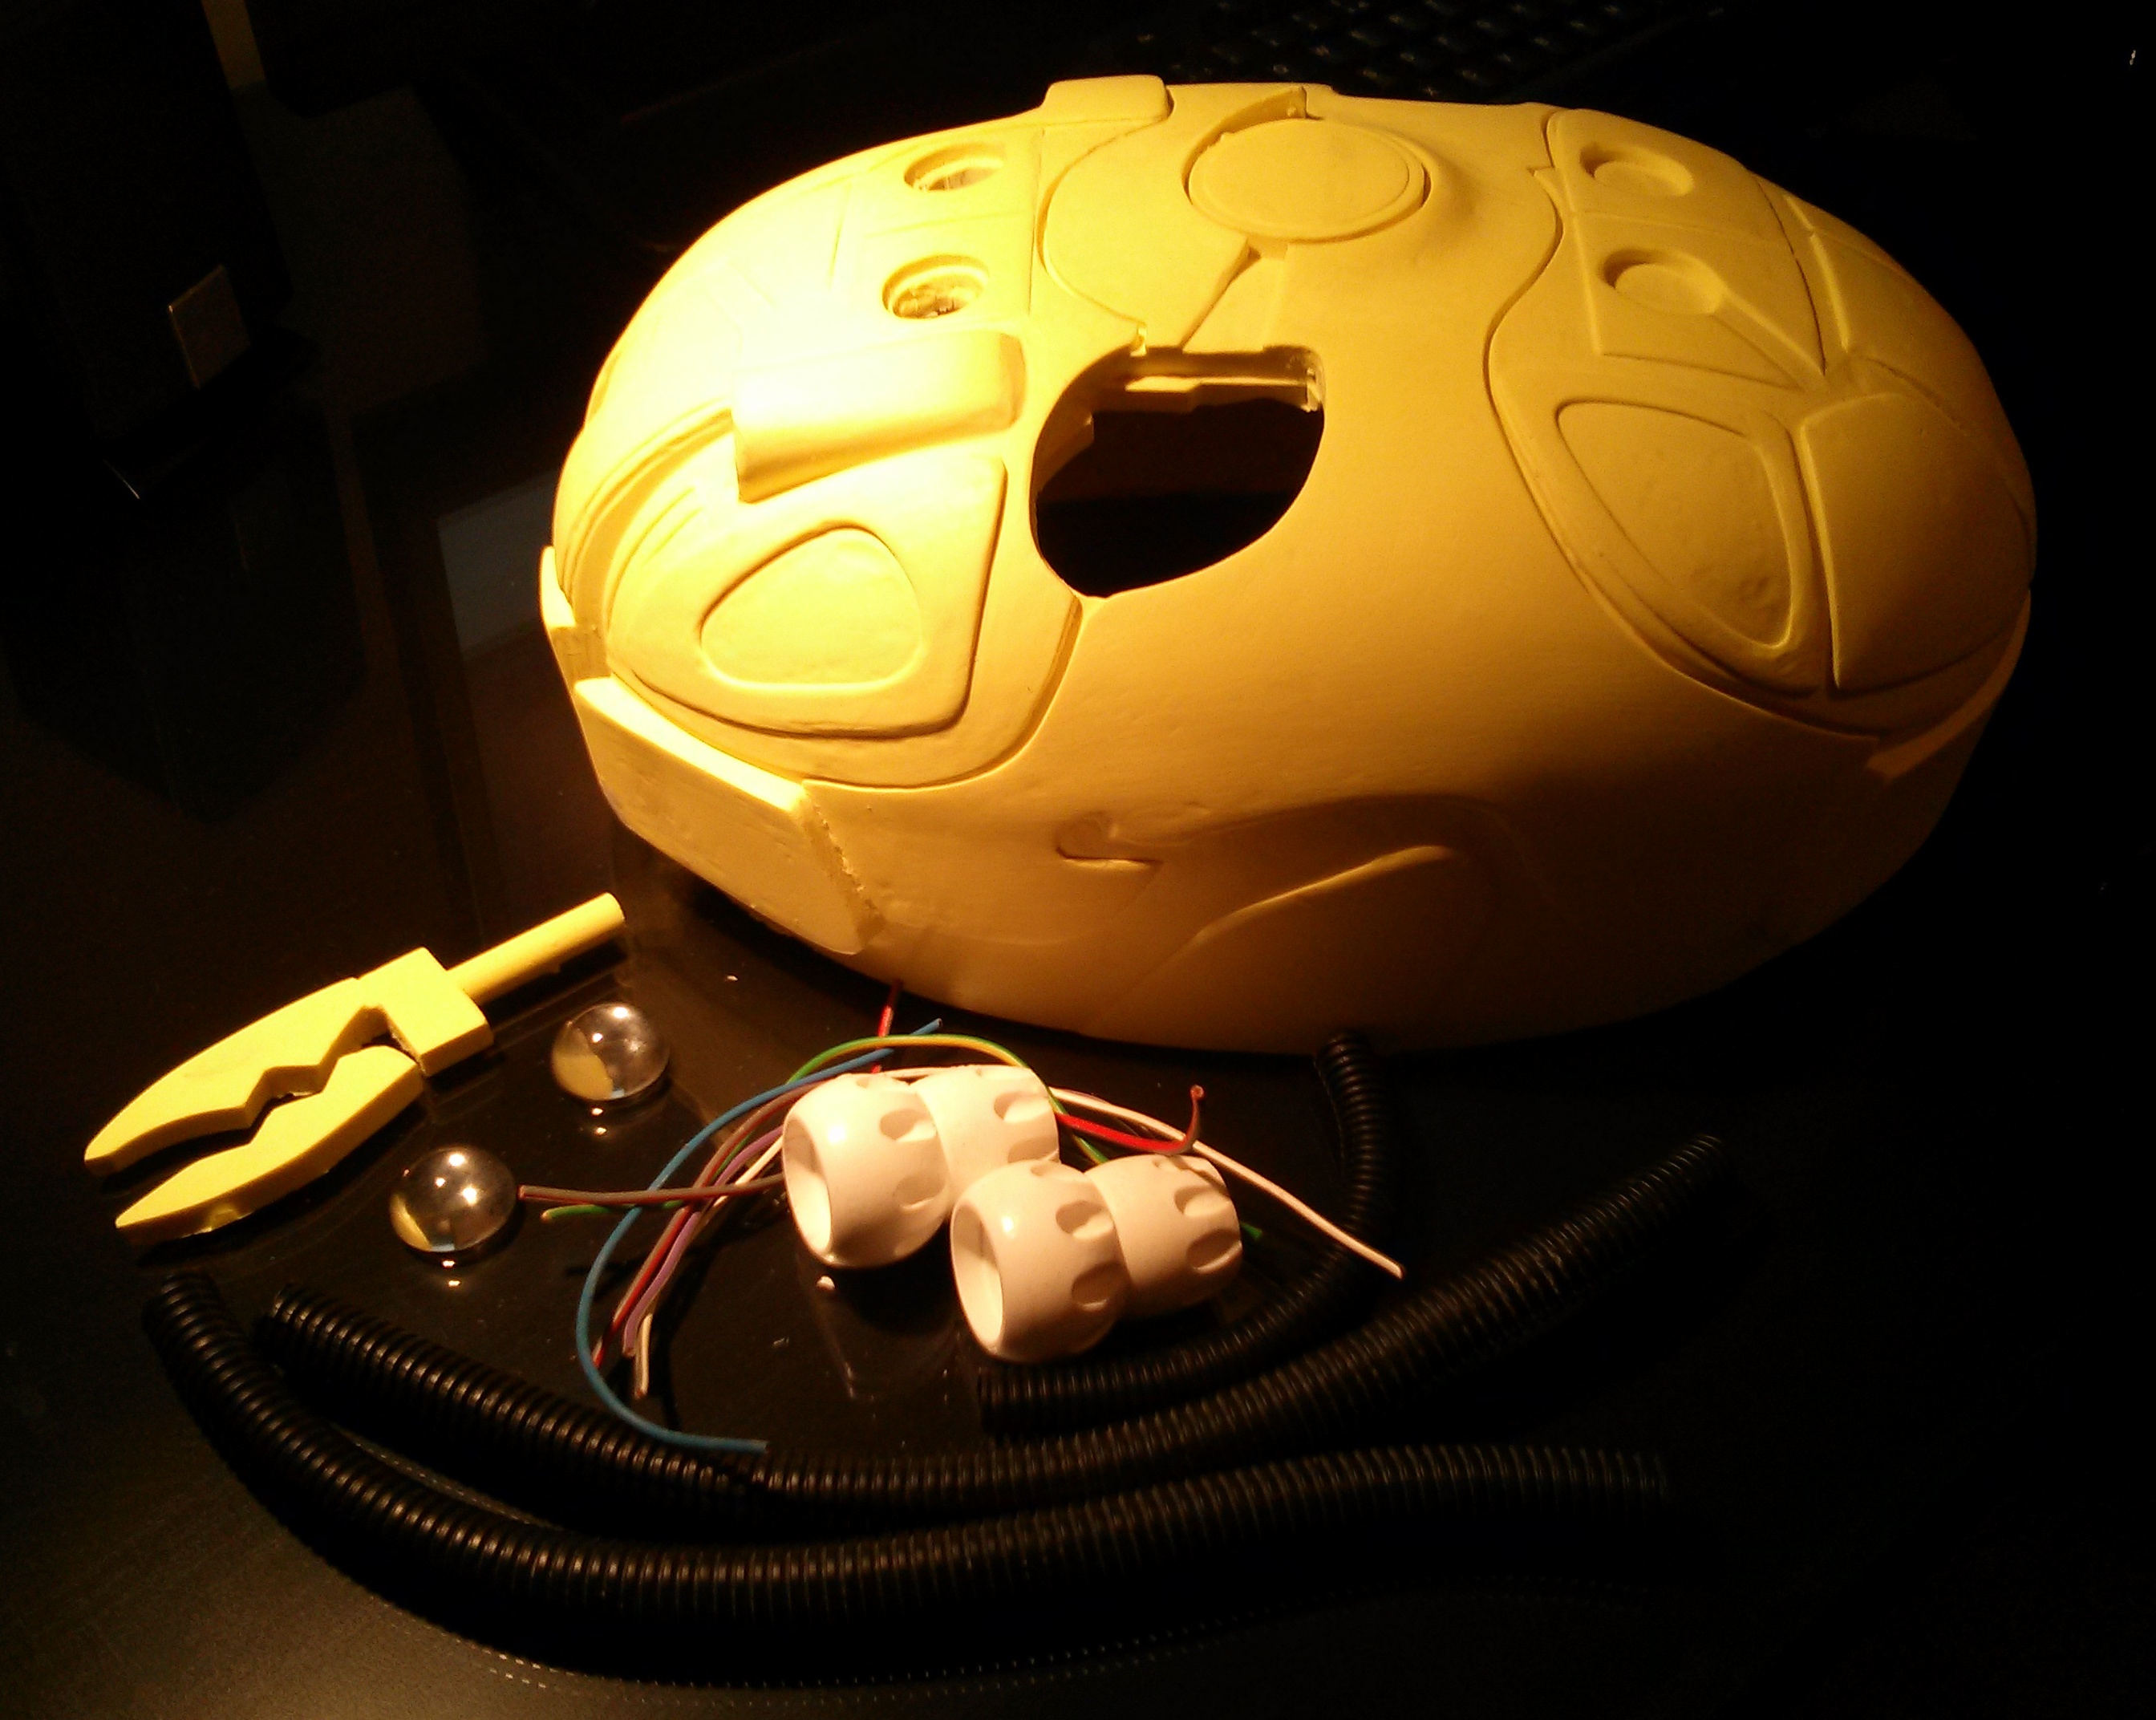
The kit isn’t perfect. The size, shape and proportions aren’t quite right and the finish is a bit rough but it’s good enough for my purposes. The part I’m really interested in is the robotics so I’m grateful that someone has already done the work for me on the basic shell.
The web site provides video tutorials on how to build the model and then how to put LEDs in the eyes and mount an remote controlled car underneath to make it move about in a bit of a crude fashion.
We can be a bit more sophisticated than that.
Raspberry Pi
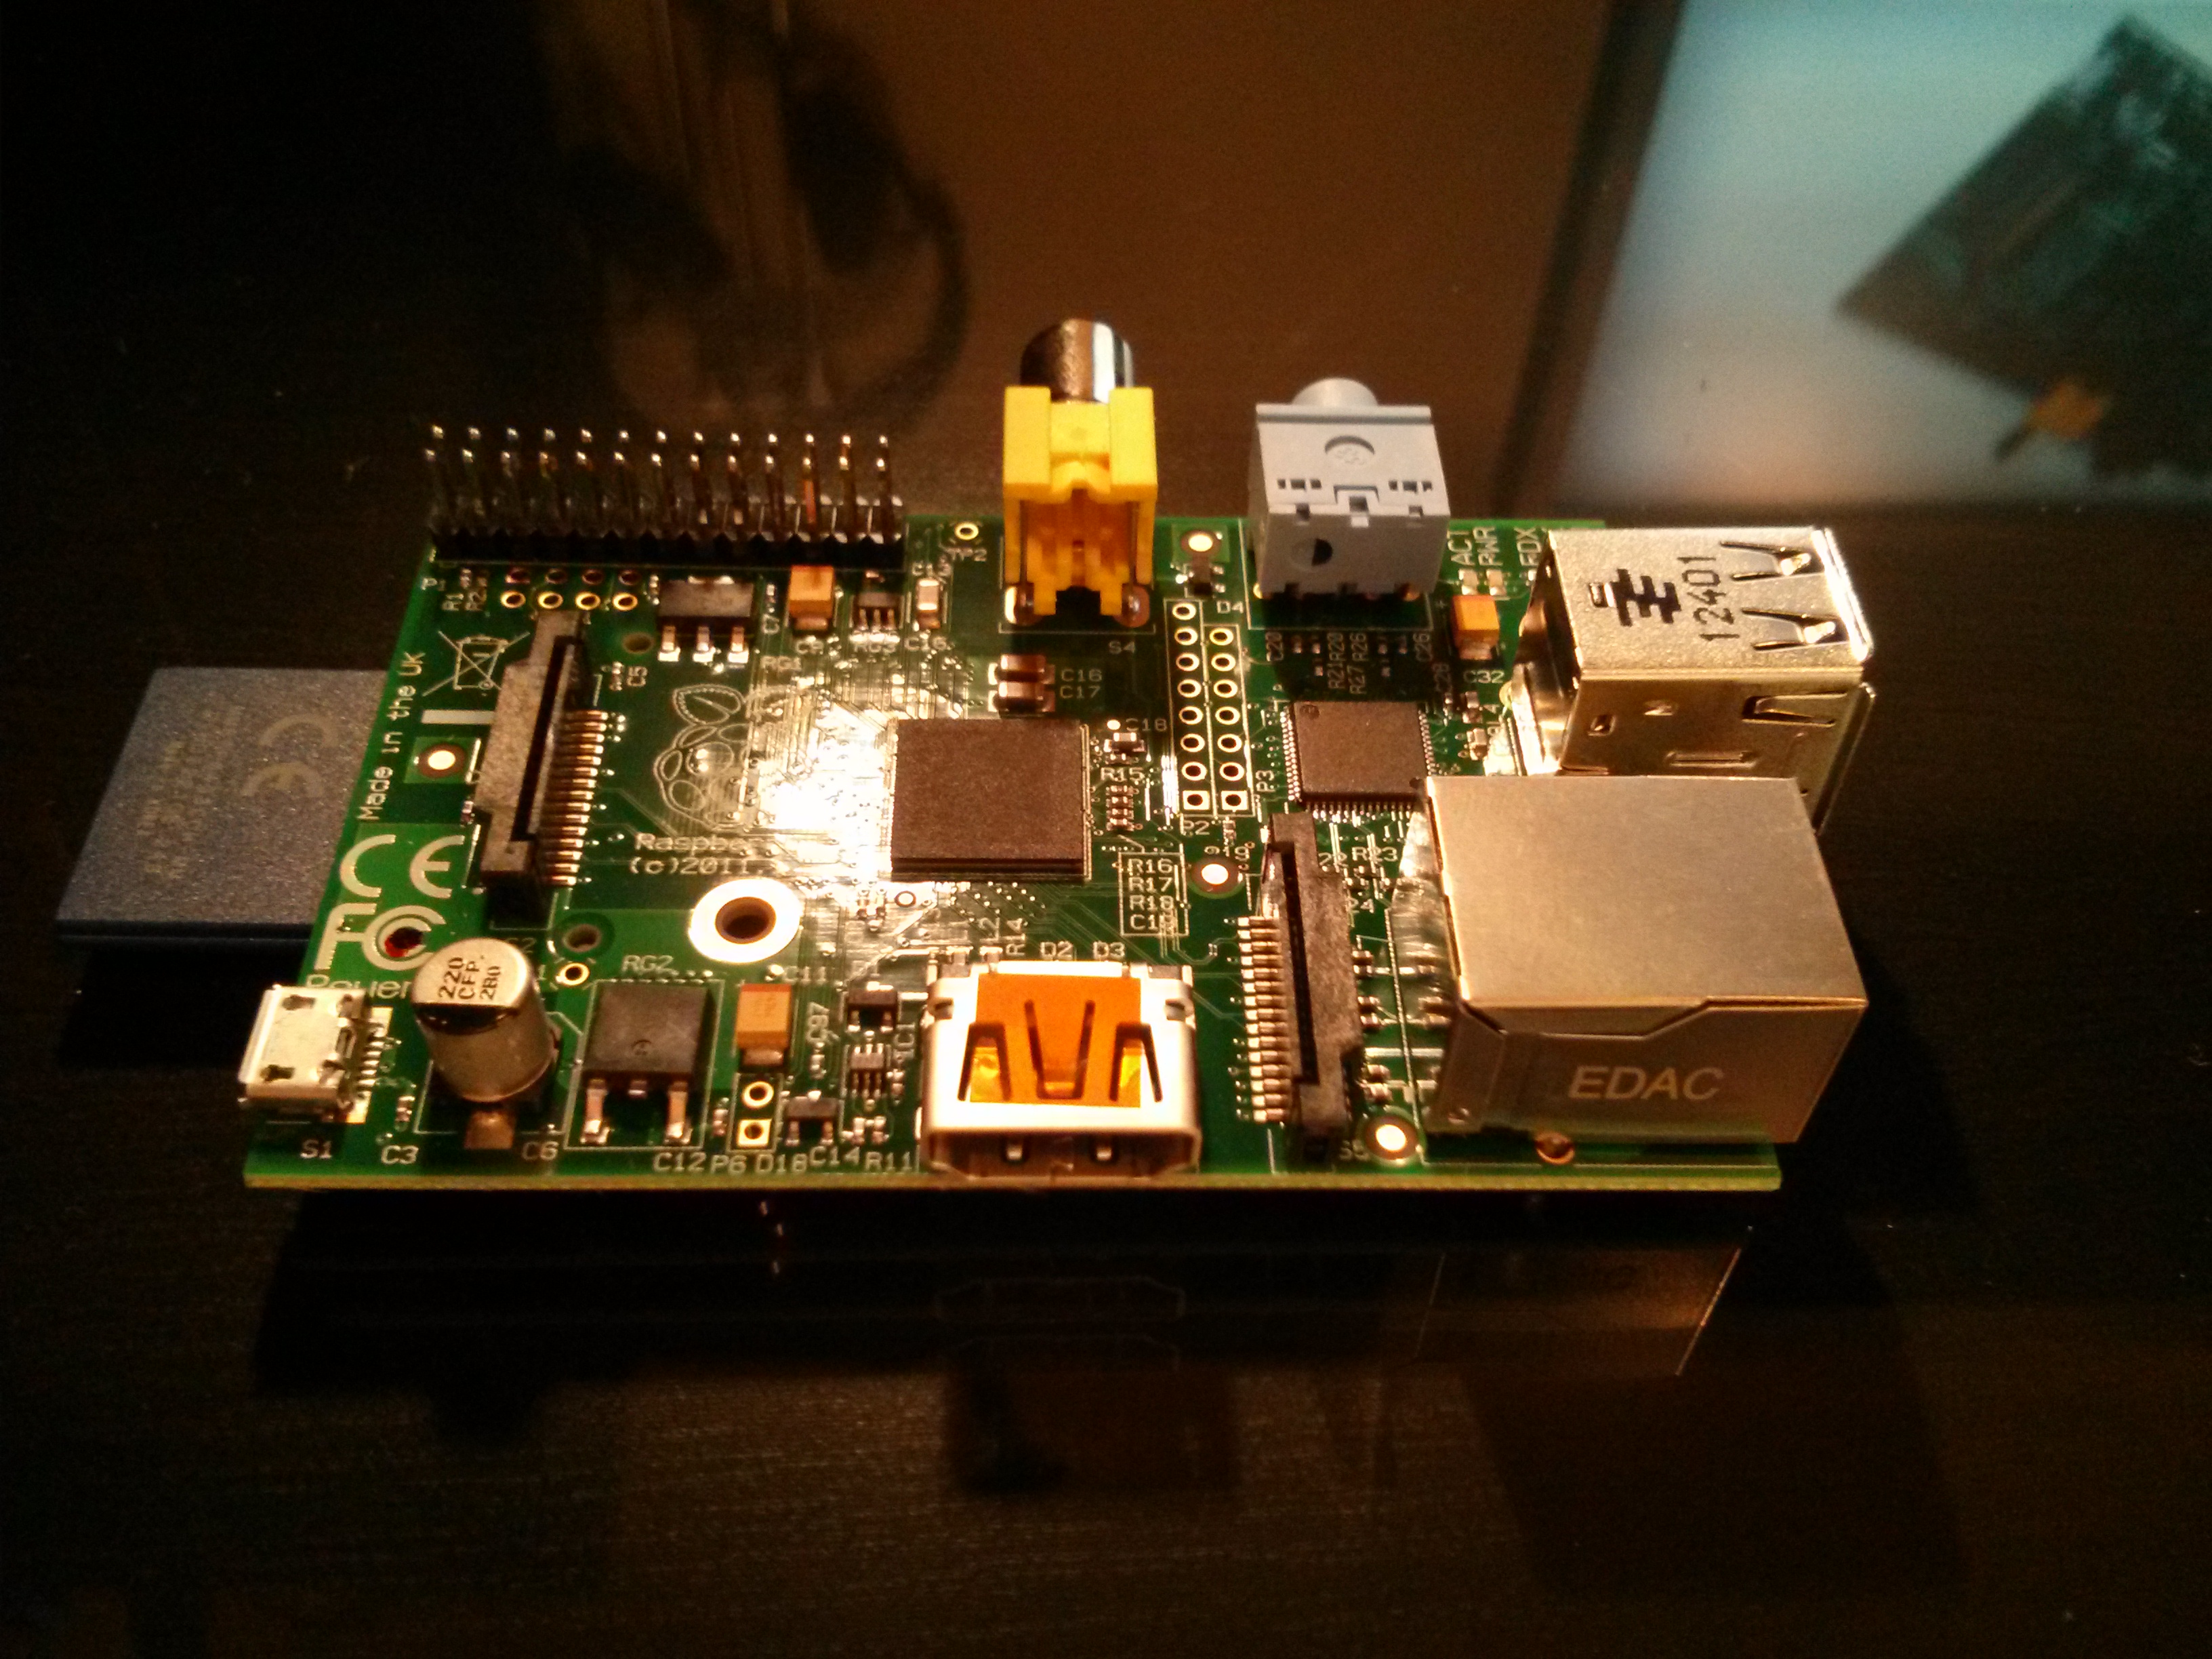
The Raspberry Pi is a credit-card sized computer developed in the UK by the not-for-profit Raspberry Pi Foundation to promote the teaching of programming in schools. It’s a single-board computer with a 700Mhz ARM processor and 512MB RAM, boots off an SD card and costs only around £30.
This is my Raspberry Pi:
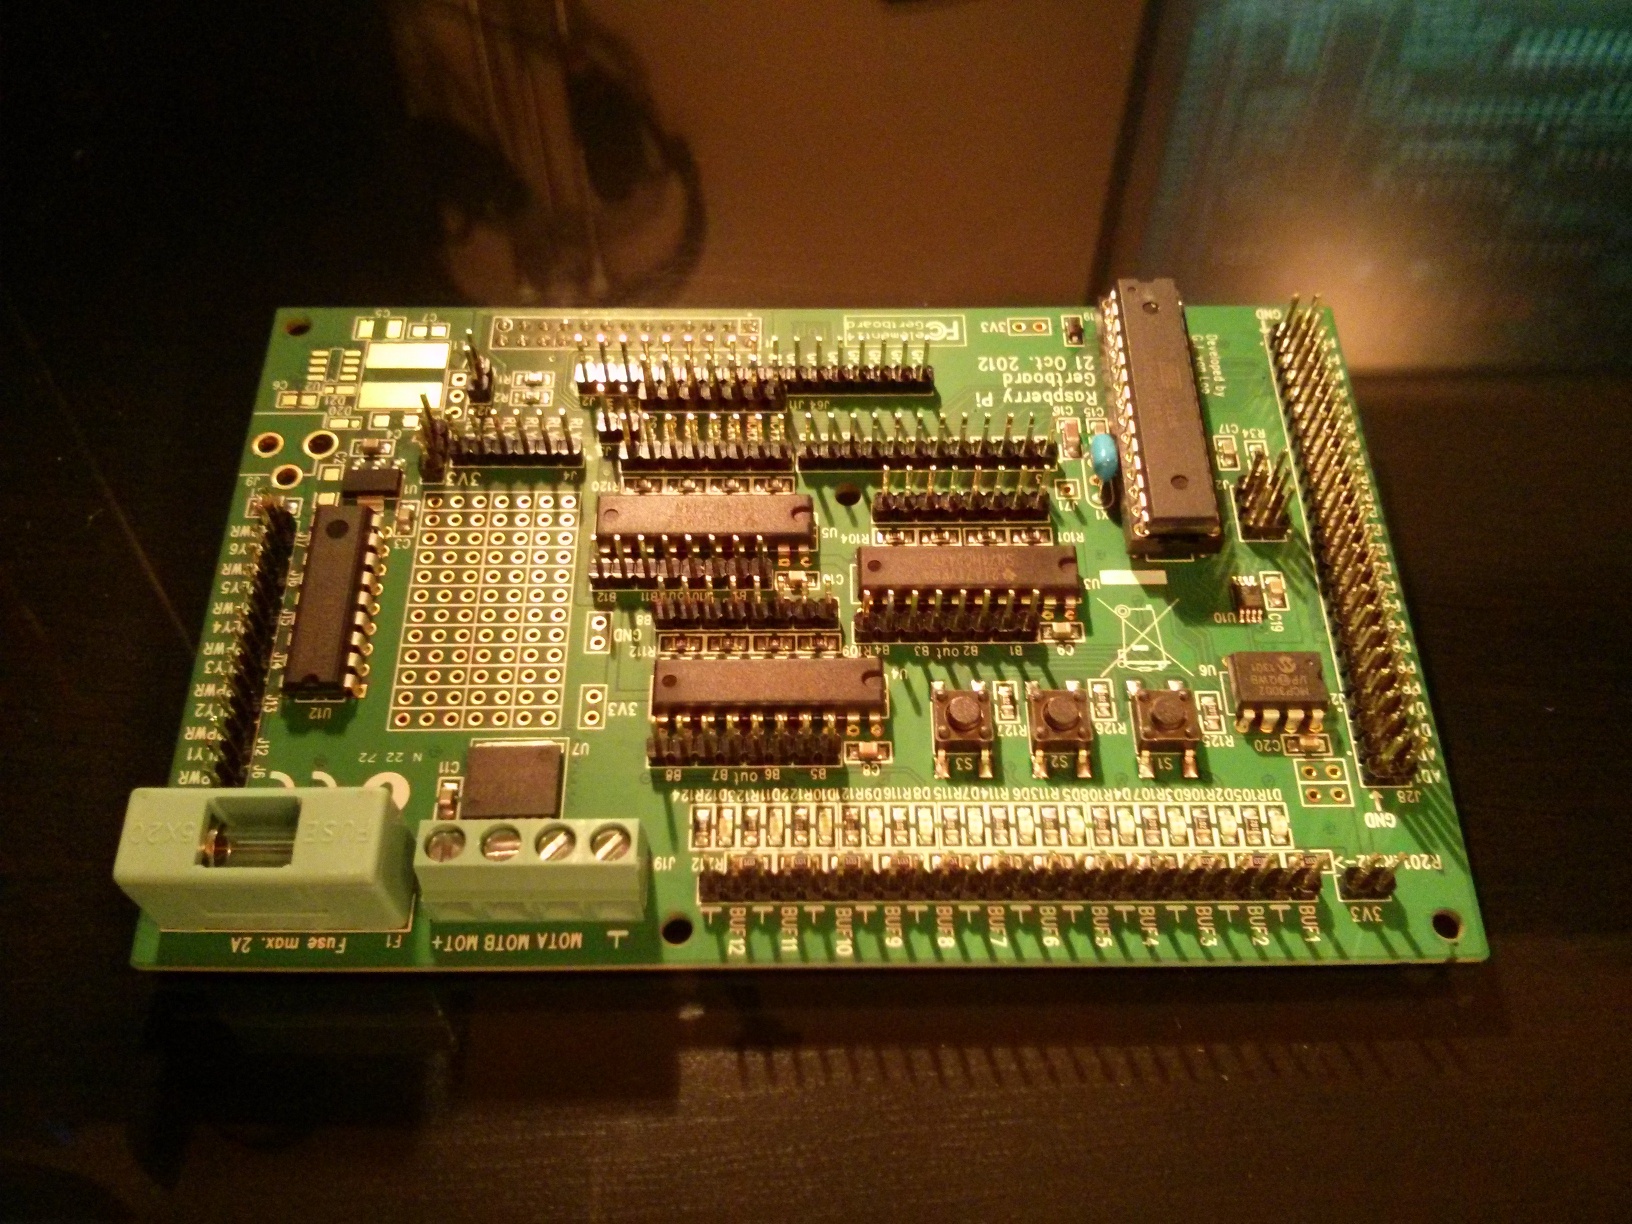
Gertboard
The Gertboard is an expansion board which attaches to the Raspberry Pi via its GPIO pins and helps when experimenting with interfacing the Pi with the outside world. It comes with an Arduino compatible AVR microcontroller, analogue to digital converters, digital to analogue converters, a motor controller, push buttons, LEDs and much more.
Booting the Pi
The Raspberry Pi can boot Linux from an SD card and the most popular distribution is Raspbian which is a Debian-derivative. You can download an image and flash it to an SD card, or even buy an SD card with it already loaded.
To boot the Raspberry Pi all you need to do is insert your Raspbian SD card, plug it into a TV via either the HDMI port or the composite video port and power it up by plugging it into a Micro USB phone charger.
Here’s my Raspberry Pi booted and plugged into an old CRT TV:

Logging In Remotely
It’s cool that I can plug the Raspberry Pi into a TV, but I don’t want to be squinting at an old portable TV or sitting in the lounge next to my big flatscreen TV all the time I’m programming the robot, so I want to be able to log in remotely. Also, my plan is to build a web interface to control the robot over WiFi, so it’s going to need to connect to a network at some point.
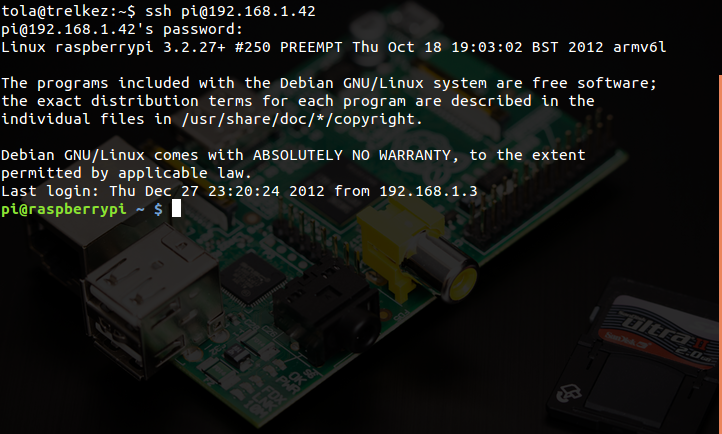
First I plugged a USB keyboard into the Raspberry Pi and an ethernet cable to connect it to my network. The SSH daemon is already started by default, but I wanted to set a static IP address so that I always knew what to log in to.
I logged into the Raspberry Pi locally (the default username is pi and the password is raspberry) and edited the network configuration using the vi text editor.
$ sudo vi /etc/network/interfaces
I provided the following configuration to assign a static IP address of 192.168.1.42 on my local network:
auto lo
iface lo inet loopback

auto eth0
iface eth0 inet static
address 192.168.1.42
netmask 255.255.255.0
gateway 192.168.1.1

Then restart the network interface with:
$ sudo ifdown -a
$ sudo ifup -a
Then check that I’m connected to the network, and the Internet by pinging Google.
$ ping google.com
I see that I’m successfully connected, so I can now log into the Raspberry Pi remotely using its new static IP.
From my desktop Linux box I type:
$ ssh pi@192.168.1.42
type in the password “raspberry”, and voilà! I’m logged in.
What’s Next
I hope you weren’t expecting to see a finished robot! There’s a very long way to go yet.
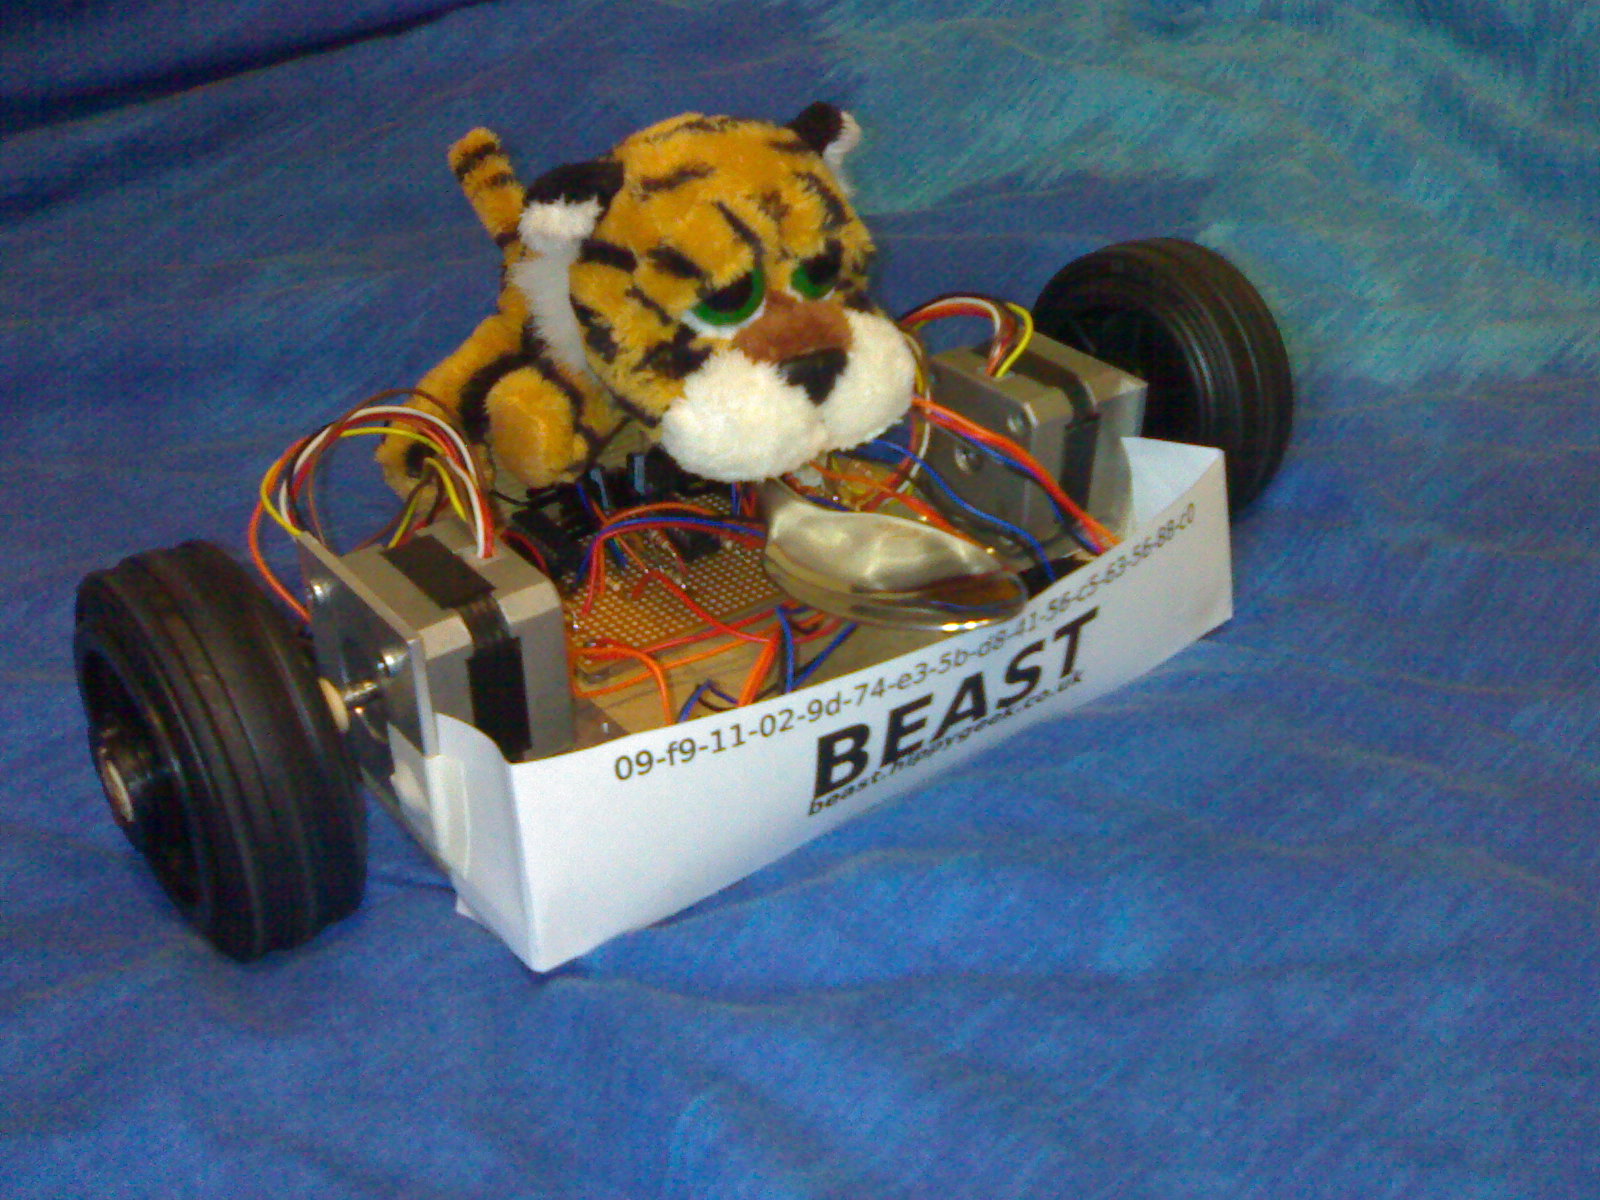
If you desperately wanted to see a finished robot, here’s a picture of the last one I worked on, a line following robot we built at university powered by a PIC microcontroller.
Next I want to start playing around with the Gertboard and and make LEDs blink on and off from Python.
I wanted to make a drd eventually. How did this project turn out?